|
posted Thursday, 19 February 2015, 19:35 (+0800), by Martin

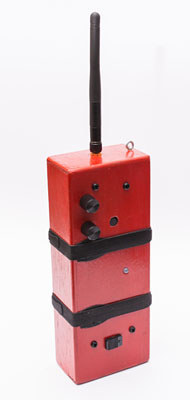
re-packaged KAP transmitter
Introduction
This page describes the radio control transmitter that I re-packaged, to make it smaller and more portable,
and more suitable for kite aerial photography (KAP).
Kite aerial photography (KAP) is a form of aerial photography, where a camera is suspended from a kite line to
allow aerial photos to be taken, with the camera either being triggered by an intervalometer,
or controlled and triggered via radio control.
My KAP camera rig uses a 6-channel radio control transmitter and receiver to control the camera,
allowing me to rotate and tilt the camera while it is airborne.
Depending on which camera I use, I can also remotely trigger the camera shutter.
Read my Introduction to Kite Aerial Photography
guest post on DIYP for more information on the how and why of KAP, and have a look through some of
my KAP photos.
Why Re-package the Transmitter?
As I have taken my KAP gear on a couple of domestic and international business trips,
I wanted to make it more portable.
The transmitter is quite bulky, and the protruding joysticks don't make it easy to pack.
Some of the re-packaged KAP transmitters posted on the
KAP forums
provided inspiration and ideas, including:
My primary aim for re-packaging the transmitter was to make it smaller and lighter, and thus more portable.
A secondary aim was to make it easier to operate one-handed.
To achieve this, I decided to:
- use 8 x AAA batteries instead of 8 x AA batteries
- custom-build a smaller case
- use a removable antenna
- remove un-used circuitry and controls
posted Sunday, 21 December 2014, 13:42 (+0800), by Martin
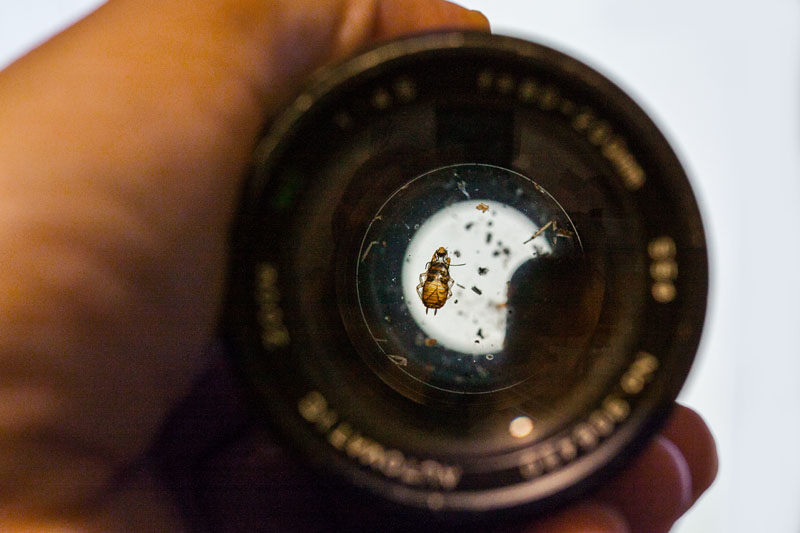
a dead cockroach
My dad
buys and sells
all sorts of things, and occasionally will buy some camera gear, even though he has no idea
of its value.
He recently bought some lenses, and asked me to take a look at them, to see what they were worth.
This particular collection of old lenses included a couple of Hanimex lenses, a Makinon lens, and a Sigma lens.
The lenses were pretty old, didn't have lens caps, and were pretty banged up.
Some research indicated they weren't worth much - but the thing that intrigued me was a dead cockroach
inside one of the Hanimex lenses, so I took a few photos of the lens and the cockroach inside it,
to share on my blog.
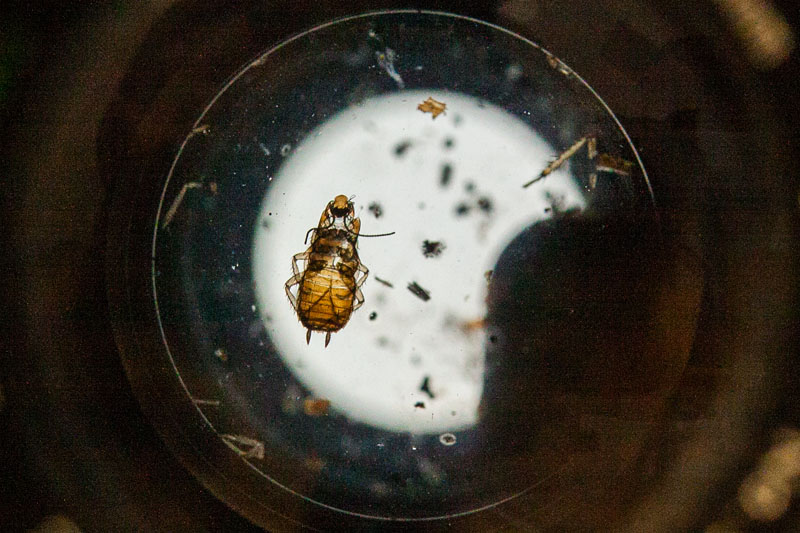
taking a closer look - the front legs have become detached, with one near top right, and one near top left
posted Wednesday, 05 February 2014, 21:34 (+0800), by Martin

Sigma USB Dock for Canon
Intro
The Sigma USB Dock (UD-01) is a lens mount that allows you to connect some Sigma lenses to your computer
via USB, to update the lens firmware, and customise some of the lens functions.
In other words, you can configure focus micro-adjustments in the lens itself, rather than in the camera body.
For prime lenses, you can configure focus-adjustment settings at four different focus distances,
and for zoom lenses, you can configure focus-adjustment settings at multiple focal lengths too.
On some Sigma lenses, you can also customise other settings, including auto-focus speed settings,
focus distance limiter, optical stabilisation, and more.
Compatibility
For now, the Sigma USB dock is only compatible with Sigma's new Contemporary, Art and Sports lines of lenses.
At the time of writing, the USB dock can be used with the following lenses:
For all the lenses listed above, the dock can be used to do the following:
- update the lens firmware
- adjust focus settings at 4 focus distances
For compatible zoom lenses (currently only the 120-300mm f/2.8 DG OS HSM lens),
in addition to updating the lens firmware and adjusting focus settings, the dock can also:
- adjust focus settings at 4 focal lengths (at each of 4 focus distances, so a total of 16 focus settings)
- adjust optical stabilisation (OS) settings
- adjust auto-focus speed
- customise focus limits
- configure custom settings selectable via a switch on the lens barrel
There are
rumours
that Sigma will be providing a firmware update for the USB dock to allow it to be used with older Sigma lenses.
The Sigma USB dock is available in three flavours - for Sigma-mount lenses,
for Canon-mount lenses, and for Nikon-mount lenses.
Each dock is specific to that mount - ie, you need a USB dock for Canon mount
to be able to connect a Sigma lens with a Canon mount, and similarly
for the Sigma mount and Nikon mount lenses.
Hardware and Software
In the box you get the USB dock, a USB cable with a UC-E6 proprietary (non-USB) connector, and some assorted paperwork.
The dock itself looks like an extra-thick rear lens cap, with a locking lever, an indicator LED
in the centre, and a USB socket.
Also included is a body cap, used for protecting the contacts on the USB dock when not in use.
USB cable (UC-E6 connector) and the USB Dock
USB Dock and cap
posted Thursday, 28 February 2013, 19:41 (+0800), by Martin


main dial on a Canon 50D
In recent months, the main dial on one of my Canon 50D DSLR cameras
would slip when attempting to rotate it.
The slipping occurs more frequently in one direction than the other direction,
and also appears to be weather-related, occurring more frequently in hotter weather.
This was particularly annoying, as most of my photography sees my
camera mode
set to
aperture priority,
and without a fully functional main dial, it was difficult to quickly adjust the aperture.
It turns out this appears to be a relatively common issue
with some of the Canon DSLRs, including the 30D, 40D and 50D.
Getting the dial assembly replaced by Canon will apparently cost you about USD$150.
On closer inspection, it was clear that the rubber grip on the dial was slipping on the
inner plastic wheel.
Rather than sending the camera into Canon for repairs, I decided to try a DIY repair
by applying some glue between the rubber grip and the plastic wheel.
posted Thursday, 06 December 2012, 20:58 (+0800), by Martin
Tracking Memory Cards
When you are on a photoshoot, juggling multiple memory cards for your cameras, you need to be able to
quickly and easily identify which memory cards have already been used and are full, and which memory
cards are still empty and ready to be used.
You do not want to have to try each memory card in your camera, to see if it already has photos on it.
An Easy Solution
I have been using a quick and easy solution for the last few years
that allows me to instantly see if a memory card has been used, or if it is empty.
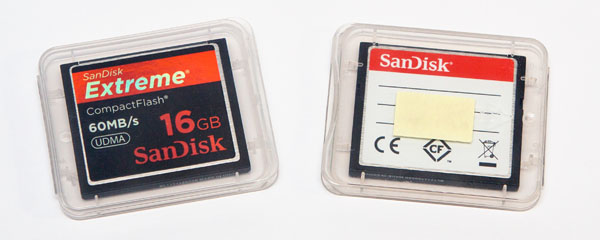
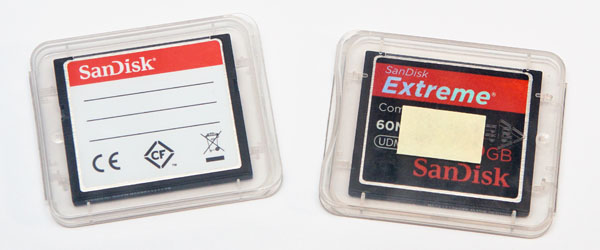
I cut up the sticky part of a post-it note, and stick one piece on the inside
of the compact flash memory card cases.
When putting a memory card into a case, facing the front of the card towards the
post-it note label indicates the card is full, and facing the back of the card towards
the post-it note label indicates the card is empty.
This method allows me to easily identify which memory cards are full, and which memory cards are empty,
just by looking at the case.
Have a look at the photos below to see how it works.
two empty memory cards in their cases
(front of memory cards facing AWAY from the label)
two full memory cards in their cases
(front of memory cards facing TOWARDS from the label)
posted Thursday, 25 October 2012, 19:46 (+0800), by Martin

Phottix Ares transmitter
Intro
The Ares is a new wireless flash trigger from Phottix. It was announced in late September 2012 at Photokina,
and is available for purchase from 25 October 2012.
The Ares is designed as a no-frills flash trigger that is easy to use, and provides reliable
triggering, at an affordable price.
The Phottix Ares is due for release in October 2012, and will replace several of the older Phottix flash
triggers, including the
Tetra,
Aster,
and the
original Strato.
Features and Specifications
Features
The Phottix Ares Flash Trigger has the following features:
- Triggers hot shoe flashes and studio lights
- Rotating transmitter can be used in up or down position
- Reliable digitally-encoded signals
- Cold shoe and 1/4" threaded insert on receiver
- Includes PC sync cable and batteries
Specifications
|
Frequency
|
2.4 GHz
| |
Range
|
200 metres +
| |
Channels
|
8 channels and Fire-All function
| |
Batteries
|
2 x AA in transmitter and in receiver
5V DC socket for external power supply on receivers
| |
Max sync speed
|
1/250 seconds (1)
| |
Antenna
|
built-in internal PCB antenna
| |
Transmitting Power
|
> 6dBm
| |
Receiver Ports:
|
3.5mm sync port, hot shoe output
| |
Operating Temperature
|
0°C to 40°C
| |
Working Humidity
|
35% to 95% RH
|
Notes:
|
1.
|
on compatible cameras and flashes
|
posted Tuesday, 04 September 2012, 20:36 (+0800), by Martin
Firmware Update - 1/3 Stop Adjustments in Manual Mode
Late last month Phottix
announced
an updated version of firmware for the fantastic
Phottix Odin for Canon wireless TTL flash trigger.
The most notable inclusion in firmware version 1.20 is support for 1/3
stop
adjustments in manual mode.
While the lack of 1/3 stop adjustments in manual mode hasn't been a big issue for me
(I typically use the Odin in TTL mode, and you can get 1/3 stops with the flashes in manual mode by using the camera's flash exposure compensation),
many people have been clamouring for 1/3 stops.
The Nikon version of the Phottix Odin has had support for 1/3 stop adjustments in manual mode from its initial
released version, and now the Canon version also supports this feature.
Display of 1/3 Stops on the Odin TCU
Due to limitations of the display on the Odin TCU for Canon, the Phottix team have taken a creative approach
to display the 1/3 stop adjustments.
With previous versions of firmware, when adjusting the power output of a flash group on the TCU, the TCU's display
would flash the power level, as shown in photo 1 below.
With firmware version 1.20 installed, the "+" and "-" buttons now adjust the power output of a flash group in manual mode
in 1/3 stop increments. The flashing display now alternates between the base power level (ie, 1/128) and
the 1/3 stop adjustment, as shown in photos 2 and 3 below.
photo 1: setting group 1 output in manual mode,
power level set to 1/128
(same display as previous firmware)
|
photo 2: setting group 1 output in manual mode,
power level set to 1/128 + 0.3
|
posted Monday, 02 April 2012, 22:34 (+0800), by Martin
Lens Issues
I recently started having focus issues with my most-frequently used lens, the Canon EF
24-70mm f/2.8L.
It would often rear-focus a lot, despite using only the centre focus point and single-shot focus mode.
This rear-focusing behaviour didn't occur all the time, and it seemed to occur more frequently at wider focal lengths.
There was also some in/out movement in the lens barrel that I previously hadn't noticed,
and I suspected that this movement was related to the focus issues.

Canon EF 24-70mm f/2.8L lens
Example Photo Demonstrating Focus Issues
Here's an example photo, showing the bad rear focussing behaviour.
The photo was taken using the centre focus point only, and single-shot focus,
focusing on the face of my oldest son.
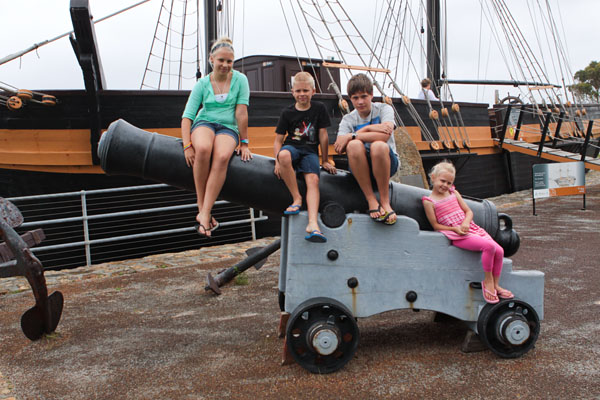
photo straight out of the camera
While the rear-focusing isn't particularly obvious in the scaled-down photo above,
the 100% crop below shows it much more clearly.
posted Friday, 02 March 2012, 16:50 (+0800), by Martin
New Products Announced
Earlier today, Canon announced some new products:
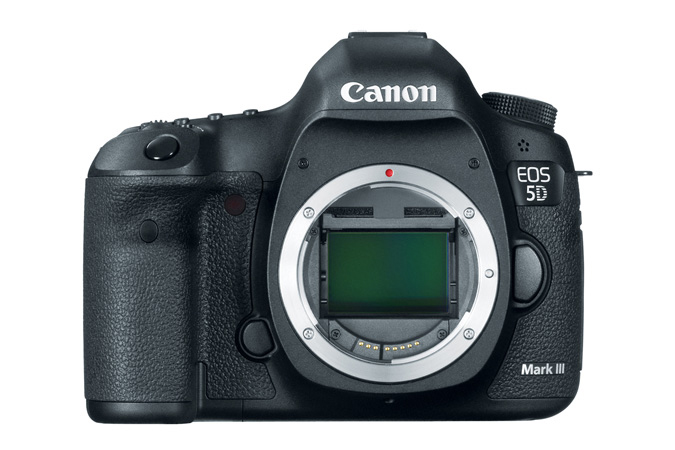
- Canon 5D Mark III DSLR camera body (press release here)
- Canon Speedlite 600EX-RT (product page here)
- Canon Speedlite Transmitter ST-E3-RT (product page here)
- Canon Wireless File Transmitter WFT-E7 (product page here)
- Canon GPS Receiver GP-E2 (product page here)
- Canon Battery Grip BG-E11
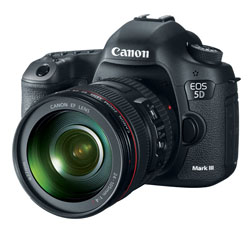
Canon 5D Mark III with 24-105mm lens
Pricing is expected to be as follows
- Canon 5D Mark III DSLR camera body - USD$3499 body only (USD$4299 with the EF 24-105mm lens)
- Canon Speedlite 600EX-RT - USD$630
- Canon Speedlite Transmitter ST-E3-RT - USD$470
- Canon Wireless File Transmitter WFT-E7 - USD$850
- Canon GPS Receiver GP-E2 - USD$390
- Canon Battery Grip BG-E11 - USD$490
The 5D Mark III, 600EX-RT and ST-E3-RT are expected to be available at the end of March 2012,
and the WFT-E7, GP-E2 and BG-E11 are expected to be available at the end of April 2012.
The
5D Mark III camera body,
5D Mark III with 24-105mm lens
and the
600EX-RT flash
are currently available for pre-order at B&H.
Canon 5D Mark III
This announcement finally puts an end to the speculation about specifications of the Canon 5D Mark III in recent months,
with the announced specifications being:
- New 22.3 megapixel full-frame CMOS sensor
- New DIGIC 5+ processor
- New 61-point High Density Reticular AF system
- 6 Frames Per Second
- Multiple Exposures - an EOS first
- Inbuilt HDR (High Dynamic Range) mode - an EOS first
- ISO 100-25600 (with expansion of L:50,H:51200/102400) enabling sharper images in a broader range of lighting conditions, especially in low light
- Intelligent viewfinder with 100% coverage
- Shutter Life of 150,000 cycles
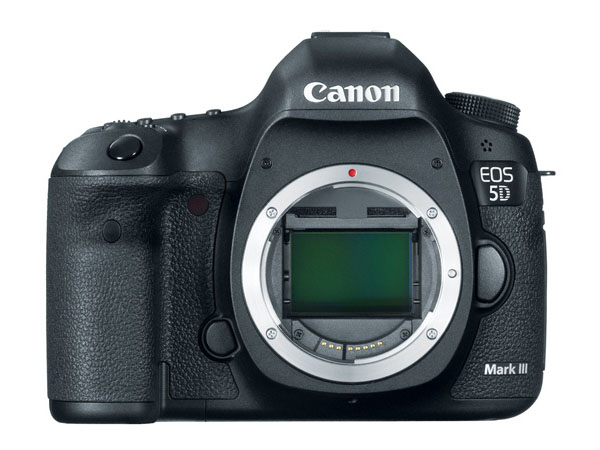
Canon 5D Mark III camera body
The Mark III features a minor increase in pixel count (22.3 megapixels compared to the Mark II's 21.1 megapixels),
a new DiG!c 5+ processor, lots more focus points, and a larger ISO range.
Multiple exposures are likely to prove useful for some artistic photos, but is unlikely to be widely used.
Built-in HDR functionality is interesting, as there are some situations where it could be useful. However,
due to the many completely overdone HDR photos seen on the internet, many people disdain HDR.
[
category: / gear/
| permalink
| 2 comments
]
[ tags: 5D, 600EX, body, camera, Canon, EOS, flash, Speedlite, ST-E3, trigger, wireless ]
|
|